All About Laminating
Lamination is a heated bonding process that helps make paper objects stronger as well as water and fade resistant.
You’ll find a few types in our stores:
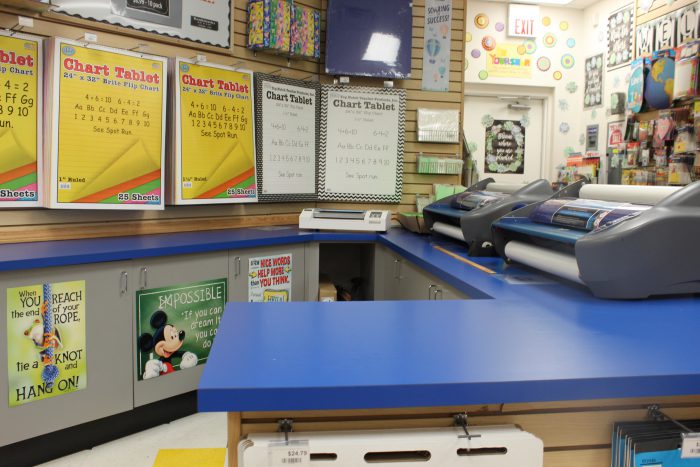
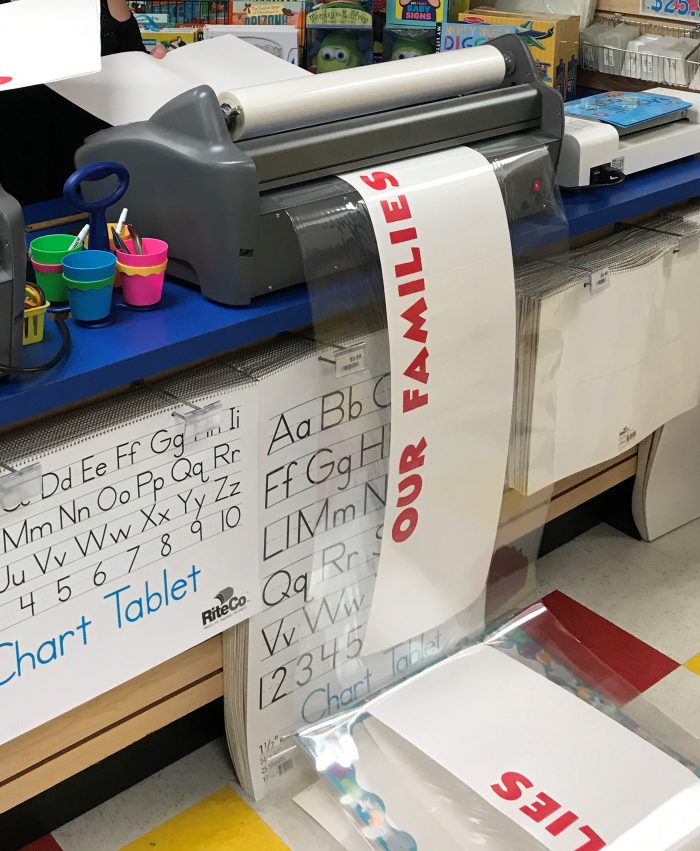
3 mil Lamination On a Roll
Our 3 mil film is 24″ wide and is great for just about everything. The extra thickness – compared to 1.5 mil – makes it more durable. Use it for:
- Bulletin board sets
- Borders and accents
- Name plates
- Indoor signs
- File folder games
- Artwork
- Game pieces
- Calendars
- 24″ paper rolls

Pouch Lamination
We also have a pouch laminator. Unlike the roll lamination, you’re limited to the sizes of pouches on hand. However, the plastic is harder and much thicker.
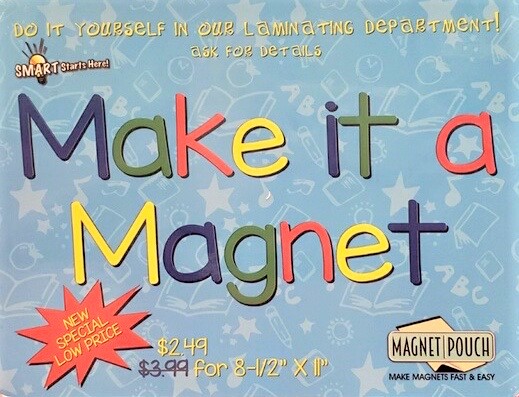
Magnetic Lamination Pouches
You can also “Make it a Magnet!” Ask about these options and we will set up the equipment for you.

Fun Fact: What’s a “mil“?
A mil is a unit of measurement, just like an “inch” or a “yard.” It’s not an abbreviation for millimeter. One mil is equal to 1/1,000th of an inch. It’s commonly used to measure the thickness of wires or films, like lamination.
How to Use Our Laminators
Prep your stuff first! Punch it out, make sure everything is secure and glue or paint are dry. Cut small items apart before you laminate so you get a seal.
Do ask before you laminate the first time with us. We’ll show you the ropes. Running lots of things through at once? Try and line them up with the lines on the plate. It’s not critical, but if all your pieces are in line, cutting out will be so much easier. Especially if you’re just doing straight edged sheets!

Give the next batch a few seconds after the previous set goes under the rollers before you pause the machine. This will ensure your pieces have a good seal, and you can take as much time as needed to set up your next set of items. More time, yes, but less wasted plastic! Don’t stop too long in the middle of something, though. It causes a line, and in some cases, can burn your items.

Make sure you clear the back of the machine and then stop and cut your lamination off. Roll it up, check the footage on the display that you used and clear the digital counter. Then let the cashier know how many feet you used when you pay. Then you’re ready to head home to your good scissors and an even better movie to watch while you cut away!
Keep in mind:

Be careful with what you run through the laminating machine.
Things like grommets, staples and paper clips cannot be run through the machines. Same goes for macaroni or button art, sticker gems, googly eyes, puffy stickers, foam board, or puzzles. Those types of items will ruin the rollers on our machines. Rule of thumb: items run through the laminator should not be thicker than a piece of poster board.
Some types of ink or paper may not react well to the heat. Fax paper, most bar code labels and chart paper turn black. Some home printers will have color changes, either becoming darker or fading. When in doubt, run a test piece though.
Yes, you can laminate tissue paper, although very thin paper might wrinkle slightly! This is tricky so do so at your own risk. Other things you might laminate at your own risk are things such as photos, ID cards, and other items that may be irreplaceable.
Best of All: Our Prices!
We’re less expensive than other stores, so come on in and laminate to your heart’s content for a fraction of the price at the big-box office supply stores. We’ll see you at the laminators!


